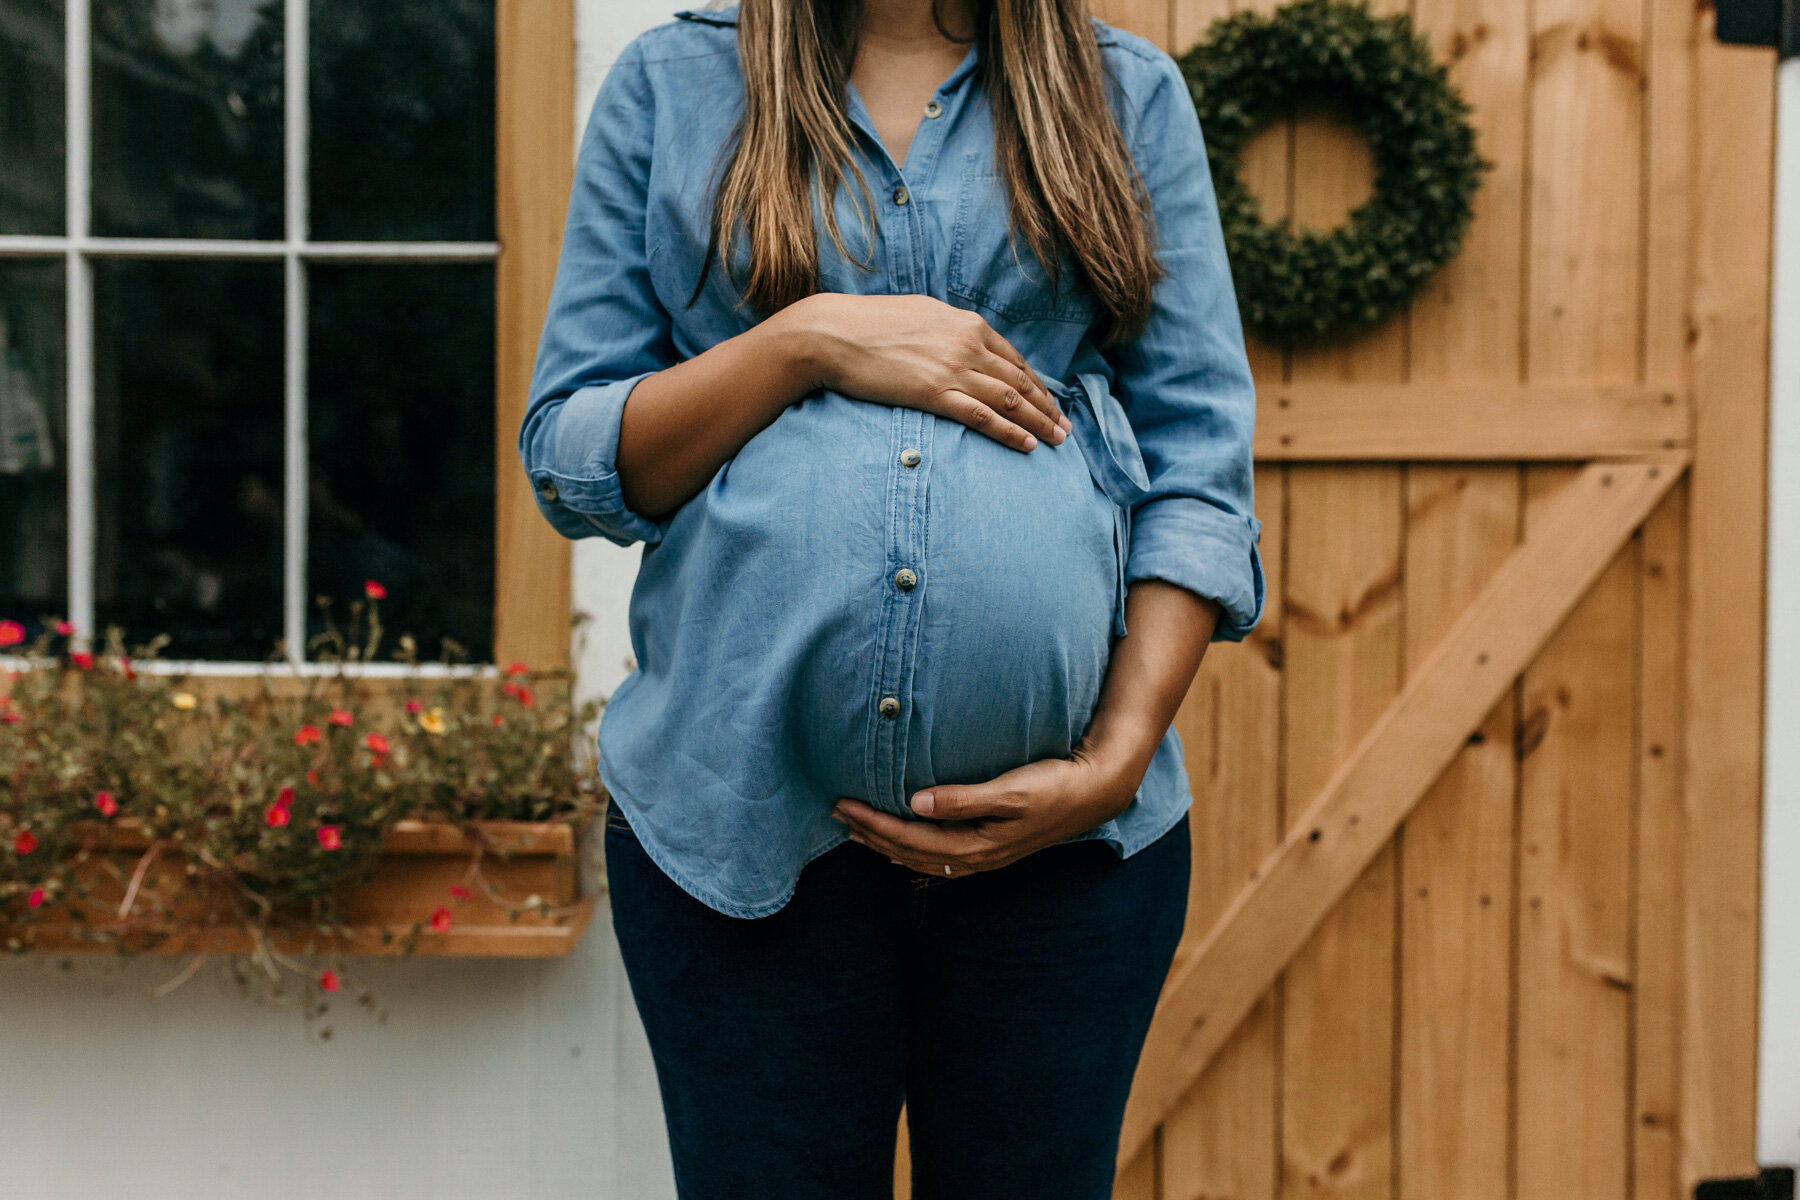
7 tips for taking great photographs of your baby bump
During both of my pregnancies, I took a monthly bump photo. I didn’t do anything fancy, just stood in front of a white wall and asked my husband to take the photo. I added these photographs to my baby record books and even though they’re really simple, I looking back on them, not only to see the bump grow but to also see the changes in me.
Our baby bump photography tips:
Wear the same thing each time.
That way you will look the same on each photograph and the growth of your bump will be more obvious. I’d also recommend wearing something tight, or if you feel comfortable, wearing your underwear so that you can really see the bump. I wore a cropped vest and black maternity leggings and that worked well.
Stand against a clean, clear background
Too much in the background will distract from the focus of the photograph... your bump! Choosing a clean, clear background will help to show it off more clearly. Try and use the same spot each time to keep it consistent.
Make sure there is plenty of natural light
Finding a spot with plenty of natural light will help produce the best photograph. Your skin tone will look more even, there won’t be any heavy shadows and the photograph will be bright and clear.
Choose a pose and face the same way each time
Choose a pose that is comfortable and feels natural. You also want it to show off your bump at it’s best. Facing the same direction to keep your bump on the same side of the photograph will create a consistent look and make it easier to compare bump sizes from week to week.
Decide how often you are going to take a picture and set a day and time.
Would you like to take a photograph every week or perhaps just every month? Decide how often and then try and pencil in a day and time for each one. This will help you to remember and keep you on track for the full 9 months.
Mark the weeks/months
In each photograph, you might choose to hold onto something to show how many weeks pregnant you are. This could be a chalkboard, milestone cards or a simple piece of paper. Alternatively you could stick something onto the wall behind you.
Edit your photographs in the same way each time
Are you going to do them in colour or black and white? Vertical or horizontal? Try and keep it the same each time you take a photograph. This will help to create a nice flow between each photograph and really show off the transformation from 0 - 9 months.
I’m a big fan of keeping things simple (we’re all busy enough!) and so here are a few example of beautiful bump photographs that are simple and easy to achieve, even by yourself. Good luck!


